By Er.Sachin Balihar/June 29 2024

Change an HP Printer Ink Cartridge
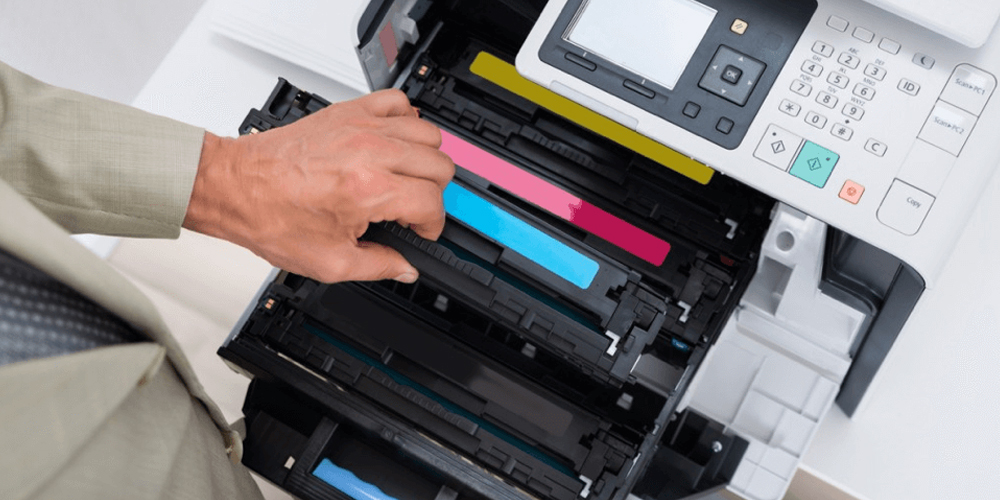
Changing an ink cartridge in an HP printer is a common task that ensures your printer continues to produce high-quality prints. While the exact steps may vary slightly depending on the model, the general process is consistent across most HP printers. Here’s a detailed, step-by-step guide on how to change an HP printer ink cartridge.
How to Install Ink Cartridge in HP Printer
1. Preparation
Before you start, gather the following items:
● The new ink cartridge(s)
● A piece of paper towel or cloth (in case of ink spills)
● A pair of gloves (if you want to avoid getting ink on your hands)
Ensure the printer is on and has paper loaded in the tray. It's also advisable to consult your printer’s manual or HP’s support website for any model-specific instructions.
2. Accessing the Ink Cartridges
1. Turn on the Printer: Make sure your HP printer is turned on. Most printers require power to move the ink carriage to the correct position.
2. Open the Printer Lid or Access Door: Locate the printer’s top lid or front access door, and open it. For some models, the ink carriage will automatically move to a central position for easier access. If it doesn’t, check the manual for instructions on how to position it correctly.
3. Removing the Old Ink Cartridge
1. Wait for the Carriage to Stop: Ensure that the ink carriage has stopped moving before you touch it to avoid any damage.
2. Release the Cartridge: Depending on your printer model, there may be a latch or tab to release the ink cartridge. Press or lift this latch gently. On some models, you may need to press down on the cartridge to release it.
3. Remove the Cartridge: Carefully pull the old cartridge out of its slot. If you’re replacing multiple cartridges, make sure to take note of their respective positions.
4. Dispose of the Cartridge Properly: Place the old cartridge in a plastic bag or recycle it according to local regulations or through HP's recycling program.
4. Preparing the New Ink Cartridge
1. Unpack the Cartridge: Open the packaging of the new ink cartridge. Be careful not to touch the gold-colored contacts or ink nozzles to avoid damaging them or causing clogs.
2. Remove the Protective Tape: There will be a piece of plastic tape covering the ink nozzles. Gently pull this off, but do not touch the nozzles or contacts as this could affect print quality.
5. Installing the New Ink Cartridge
1. Insert the Cartridge: Hold the new cartridge with the nozzles facing down and the contacts facing the printer. Slide it into the correct slot at the same angle it was removed, ensuring it fits snugly into place. Most cartridges will make a clicking sound once they are properly seated.
2. Secure the Cartridge: Depending on your printer model, you may need to push down on the cartridge until it clicks into place or close a latch over the top to secure it.
3. Repeat for Additional Cartridges: If you have more than one cartridge to replace, repeat the process for each one.
6. Finalizing the Installation
1. Close the Printer Lid or Access Door: Once all cartridges are replaced, close the printer lid or access door. The ink carriage should move back to its starting position.
2. Align the Cartridges: Many HP printers will automatically prompt you to align the cartridges after installation. Follow the on-screen instructions, or if there’s no prompt, refer to your printer’s manual to perform an alignment manually. This step ensures optimal print quality.
3. Print a Test Page: Print a test page to verify that the new cartridge is working correctly and that the alignment is complete. Check the print quality and make sure there are no streaks or missing colors.
7. Troubleshooting
● Ink Cartridge Not Recognized: If the printer does not recognize the new cartridge, ensure it is correctly seated and the protective tape is removed. Restart the printer and try again.
● Poor Print Quality: If you notice any issues with print quality, run a printhead cleaning cycle from the printer's maintenance menu.
● Error Messages: For any error messages, consult the printer's manual or HP’s support website for troubleshooting steps.
Additional Tips
● Keep Spare Cartridges: Always have spare cartridges on hand to avoid running out of ink unexpectedly.
● Store Cartridges Properly: Store unused ink cartridges in a cool, dry place, and keep them in their sealed packaging until you need them.
● Use Genuine HP Ink: For the best results and to avoid potential issues, use genuine HP ink cartridges. Third-party cartridges might be cheaper but can sometimes cause compatibility issues or inferior print quality.
Conclusion
Changing an ink cartridge in an HP printer is a straightforward process that can be done in a few minutes. By following the steps outlined above, you can ensure that your printer continues to function smoothly and produces high-quality prints. Regular maintenance and using the right cartridges will help extend the life of your printer and keep your prints looking their best. If you encounter any difficulties, refer to your printer’s manual or HP’s support resources for additional help.
Troubleshoot Now - Zero Frustration Guaranteed!
Troubleshoot Now provides fast and reliable technical support for all your needs. With our zero frustration guarantee, you can rest assured that our team of experts will quickly resolve any issue you may have. Get your tech problems solved now!